Make a VRChat schedule card
thamit includes a schedule card generator that turns your plans into a single image. It works without logging in, and saves your weekly or monthly schedule — streams, event appearances, photo sessions, and so on — as a wide (16:9) image ready to post as an announcement on X.
How to use it
- Open /schedule.
- Enter your plans in the calendar (each title can be up to 50 characters).
- Choose the output range: "This week / Next week / This month / Next month".
- Finish it up by picking a design and colors.
- Save the card as an image.
Choosing a design
For week views, you can choose from 6 designs.
- Basic … The standard design, laying out plans as boxes.
- Image + boxes / Image + list … Designs that let you add a character image (like a full-body render).
- Bubbles … Lays out plans as chat-style speech bubbles. You can add a character image here too.
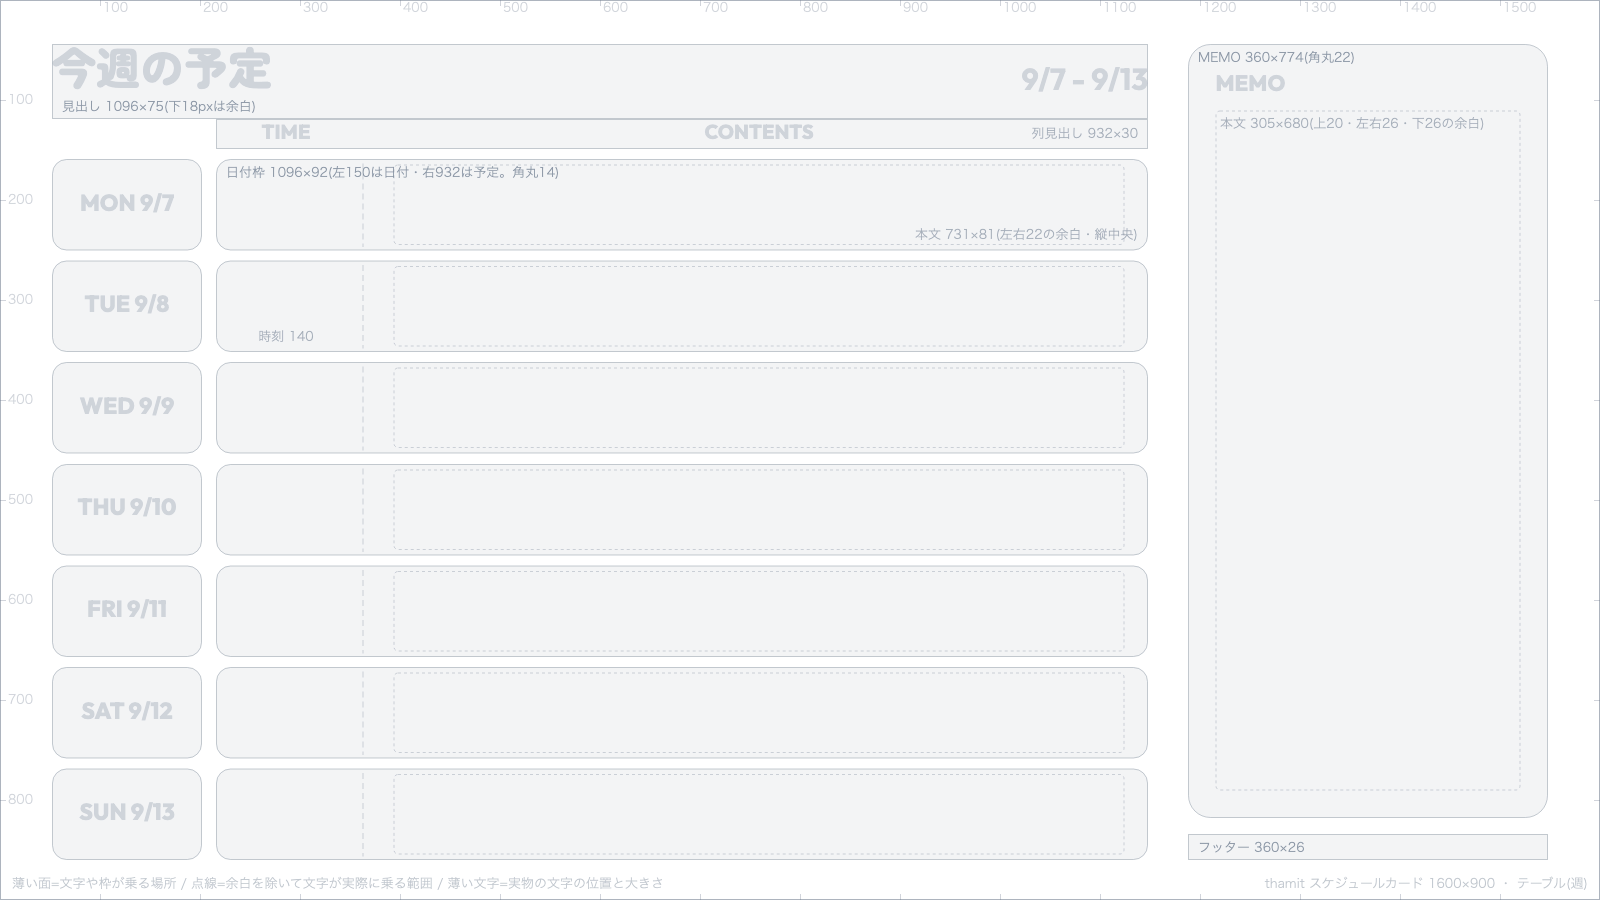
- Table … Organizes weekday, time, and plans into a table, with a MEMO panel on the side.
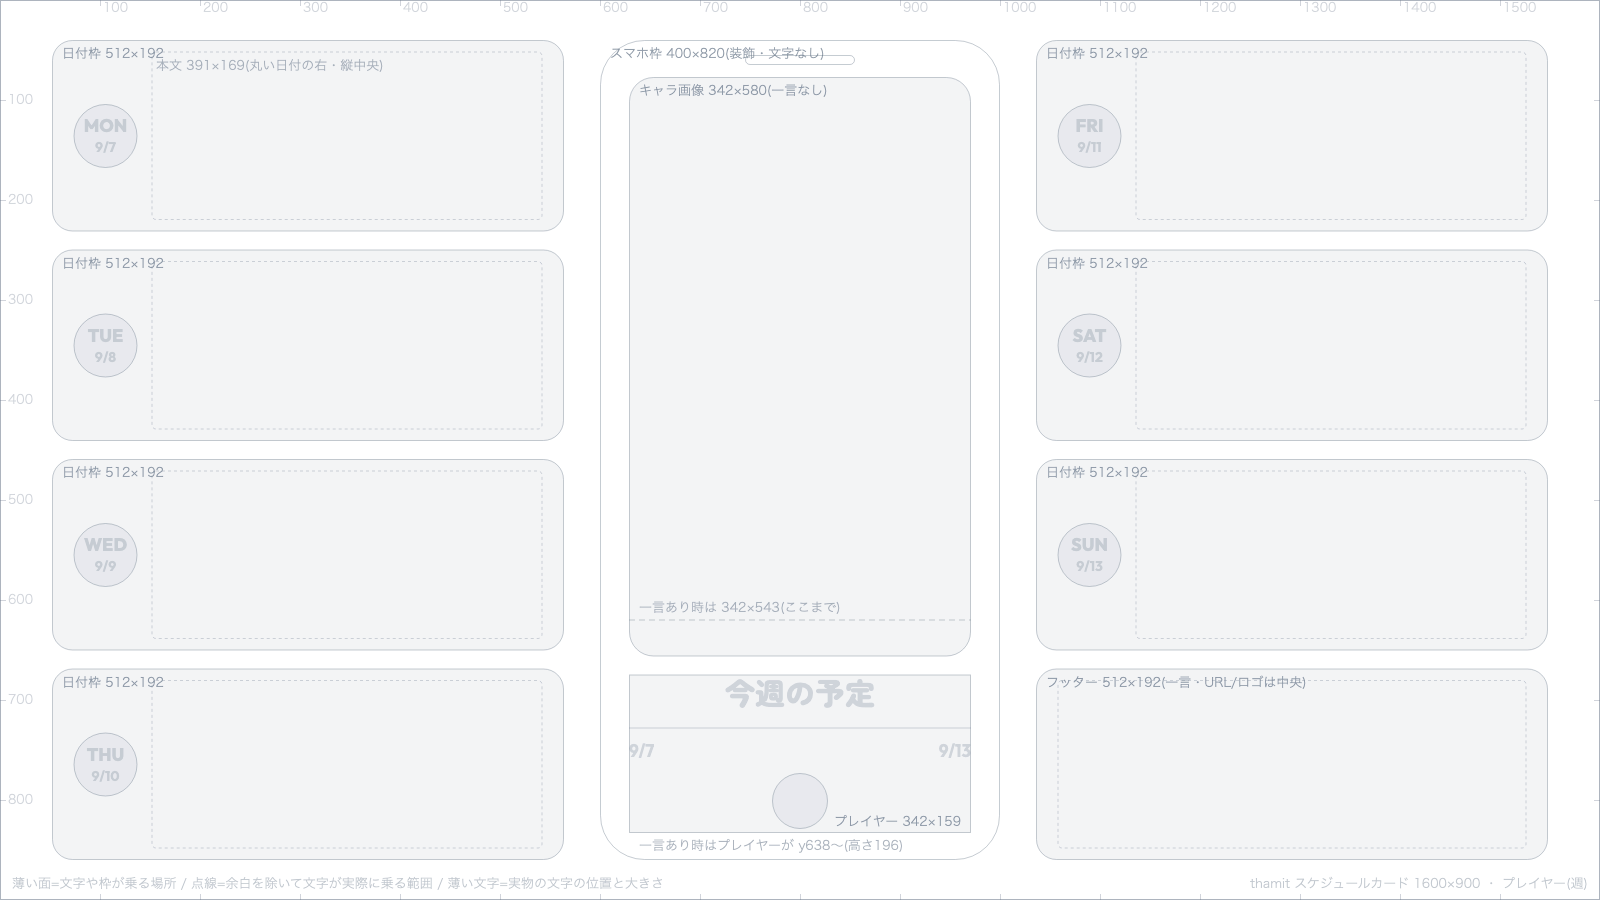
- Player … A music-player-inspired layout, where your character image becomes the album art.
In every design, you can add a free comment (up to 60 characters) in the open space. Days without plans are shown as "Day off".
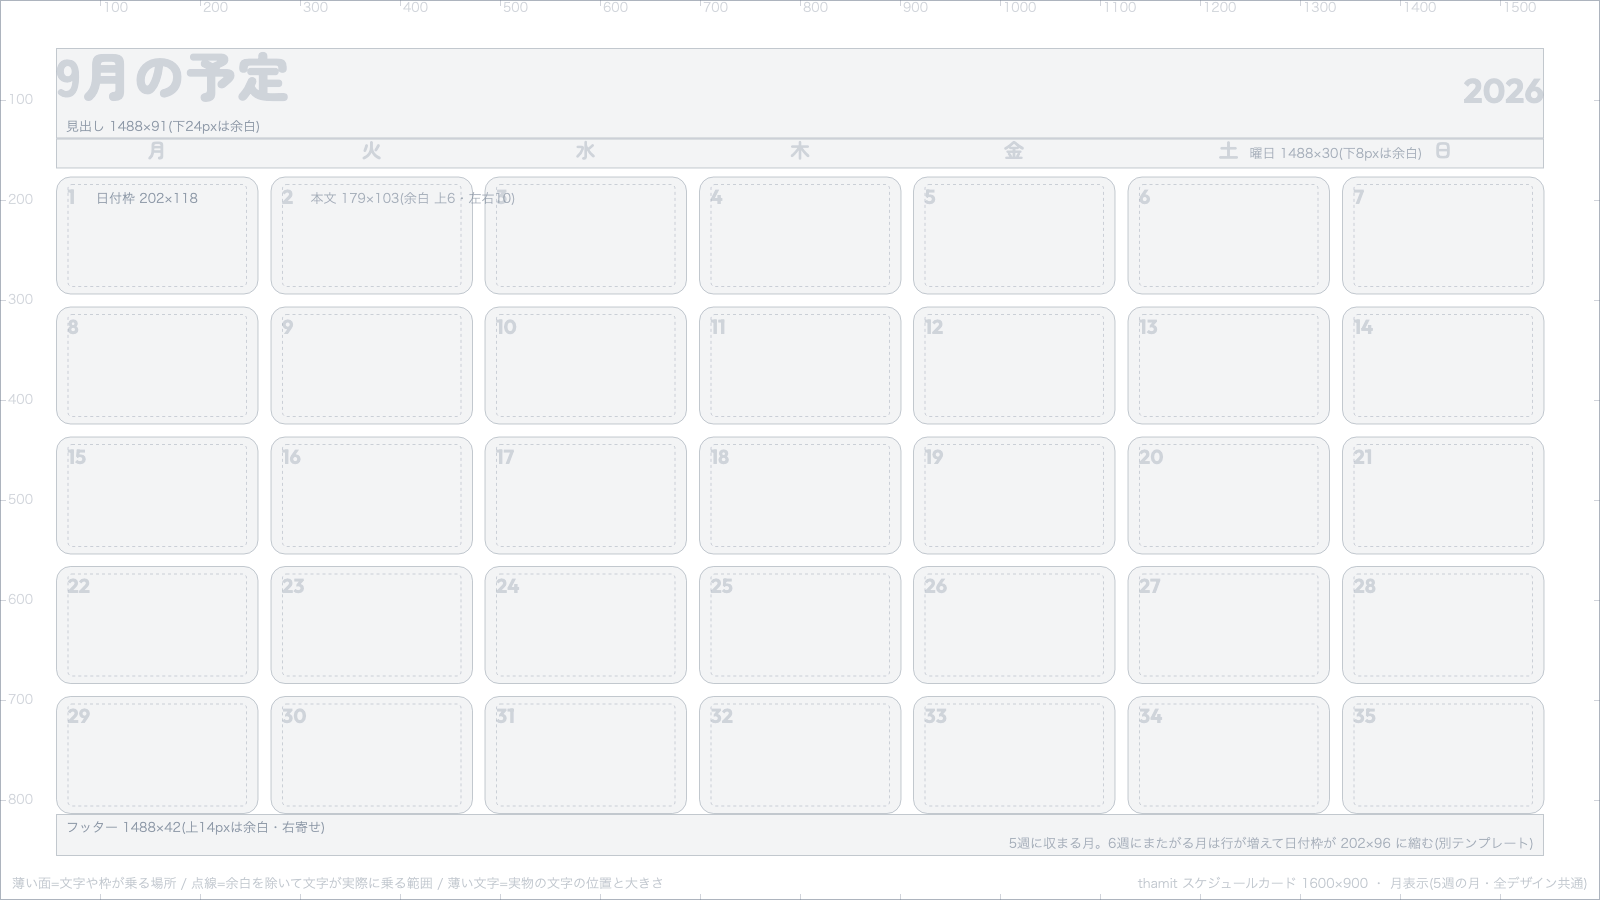
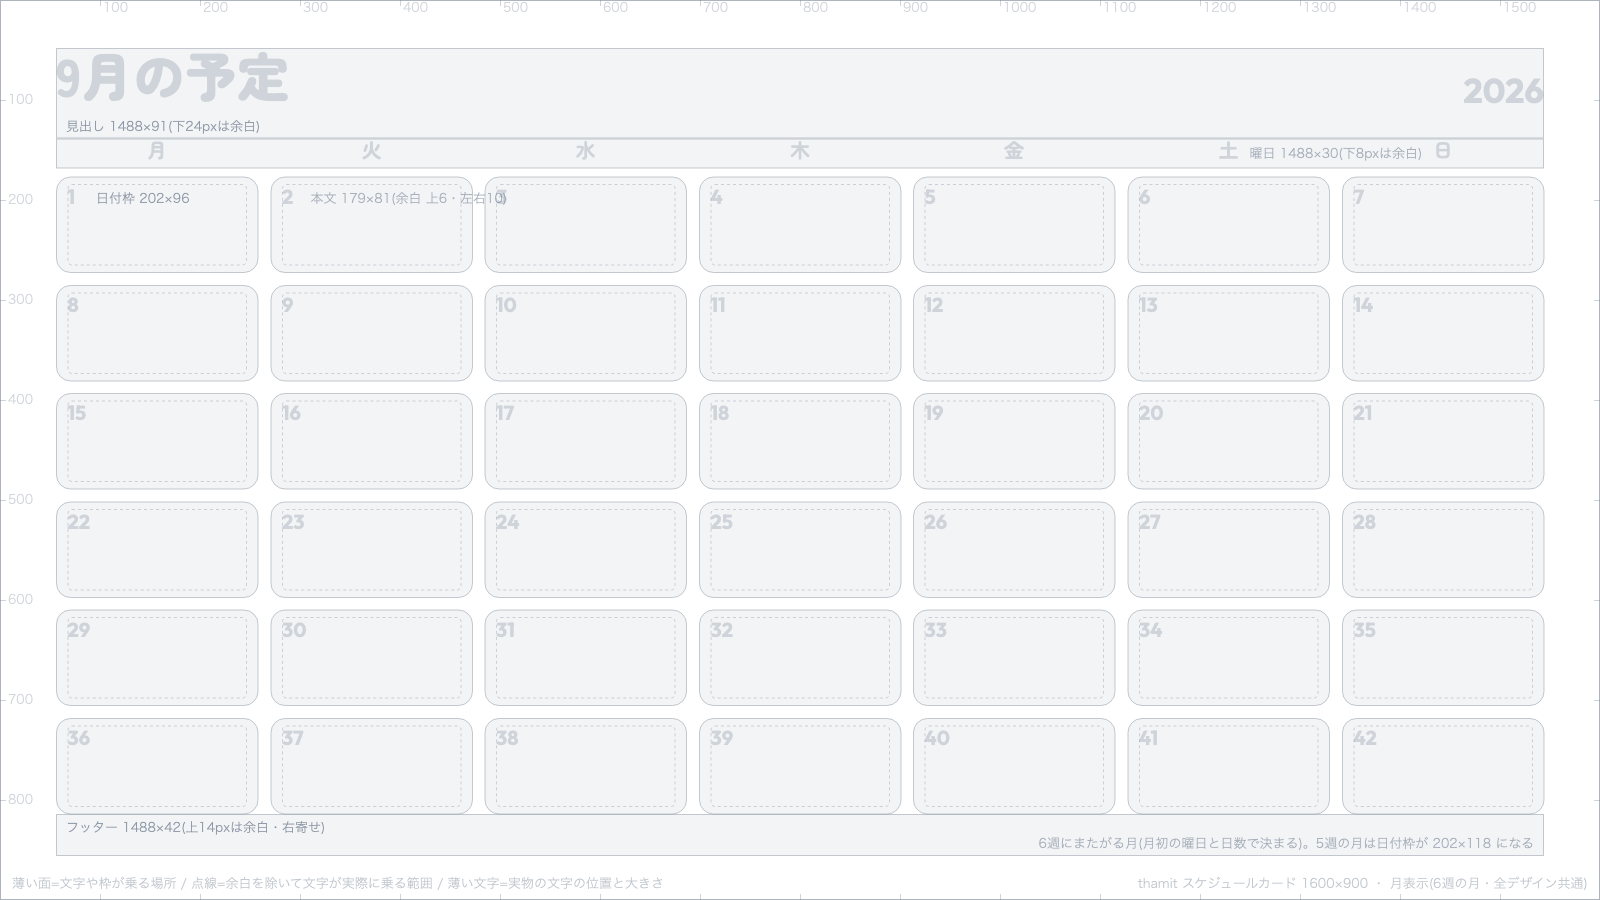
Month views (this month / next month) use a calendar grid regardless of design.
There's a limit to how many plans can be shown per day (up to 3 in the Basic week view, 2 in the other week designs, and 2 per cell in month views). Anything beyond the limit is collapsed into a "+n" indicator.
Make your own background, day box, and frame images
Open "Advanced settings" to style the card with your own images.
- Background image … One image behind the whole card. A theme-matched overlay (with adjustable strength) sits on top so the text stays readable.
- Day box image … The same image placed behind every day box. The box overlay strength is adjustable too. "Choose a ready-made day box image" gives you the same four styles as the background presets in one tap, re-fitted automatically when you switch layouts.
- Frame image (transparent PNG) … Your own frame artwork layered on top of the whole card. No overlay is applied, so keep the areas where text and boxes sit transparent.
All of these are stored only on this device and never sent to the server.
You can distribute or sell background, day box, and frame images you made yourself, on BOOTH and elsewhere. See Distributing and selling your own decorations for the rules.
Using the layout templates
We provide alignment templates (1600×900 transparent PNGs) showing where the text and boxes sit. Place one on the top layer in your paint app as a guide, then hide it when you are done.
- Basic (week)
- Image + boxes (week)
- Image + list (week)
- Bubbles (week)
- Table (week)
- Player (week)
- Month view, 5-week months (all designs)
- Month view, 6-week months (all designs)
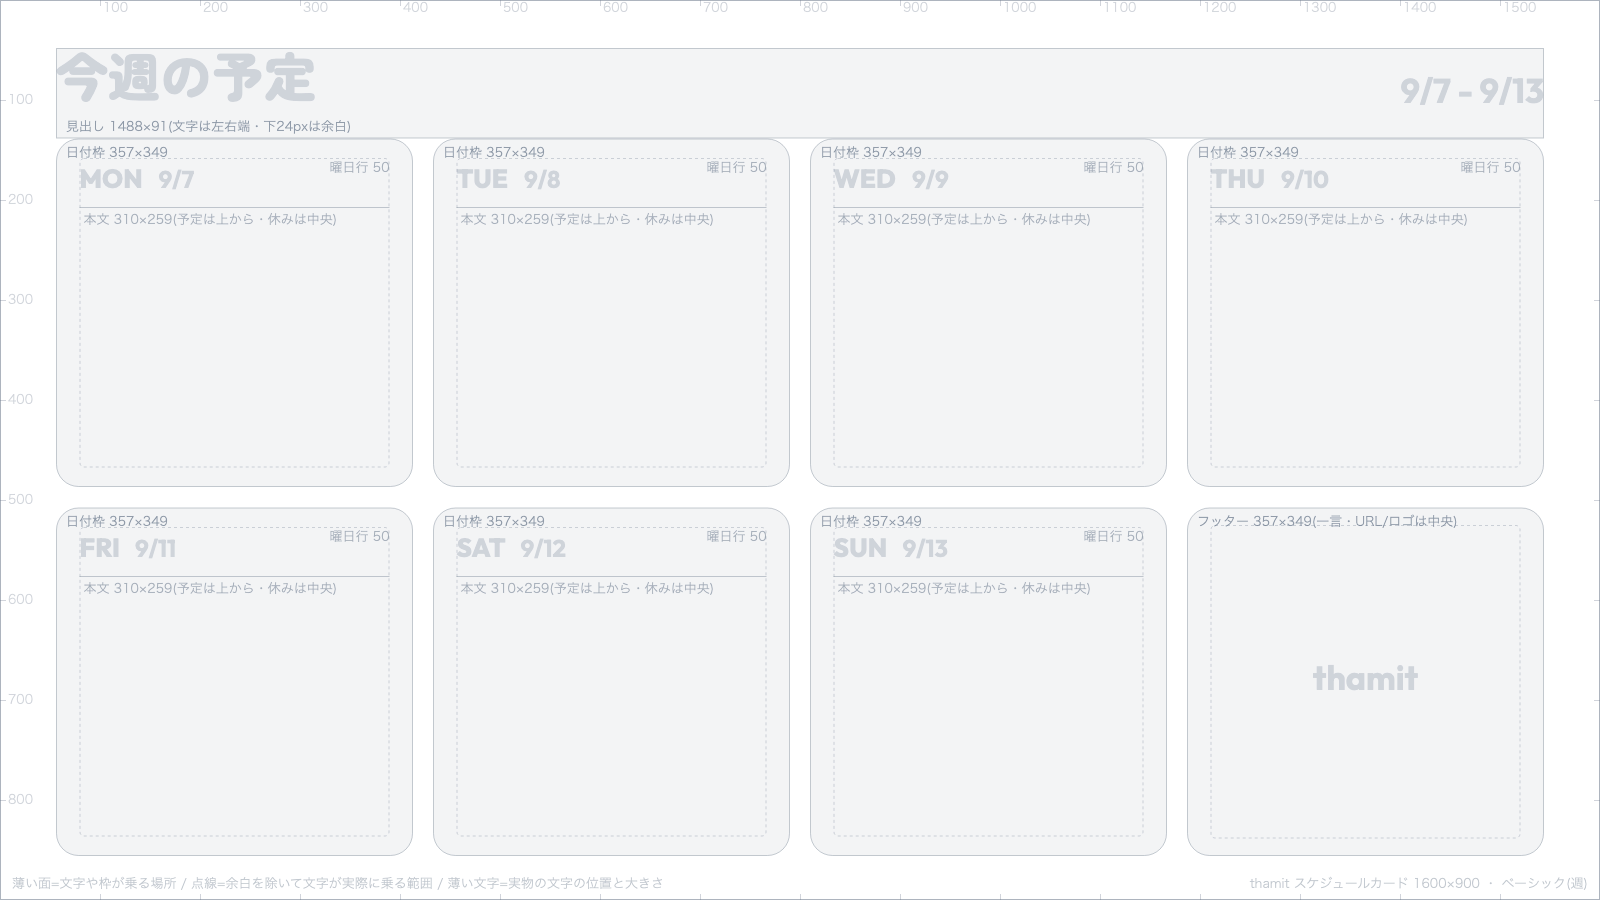
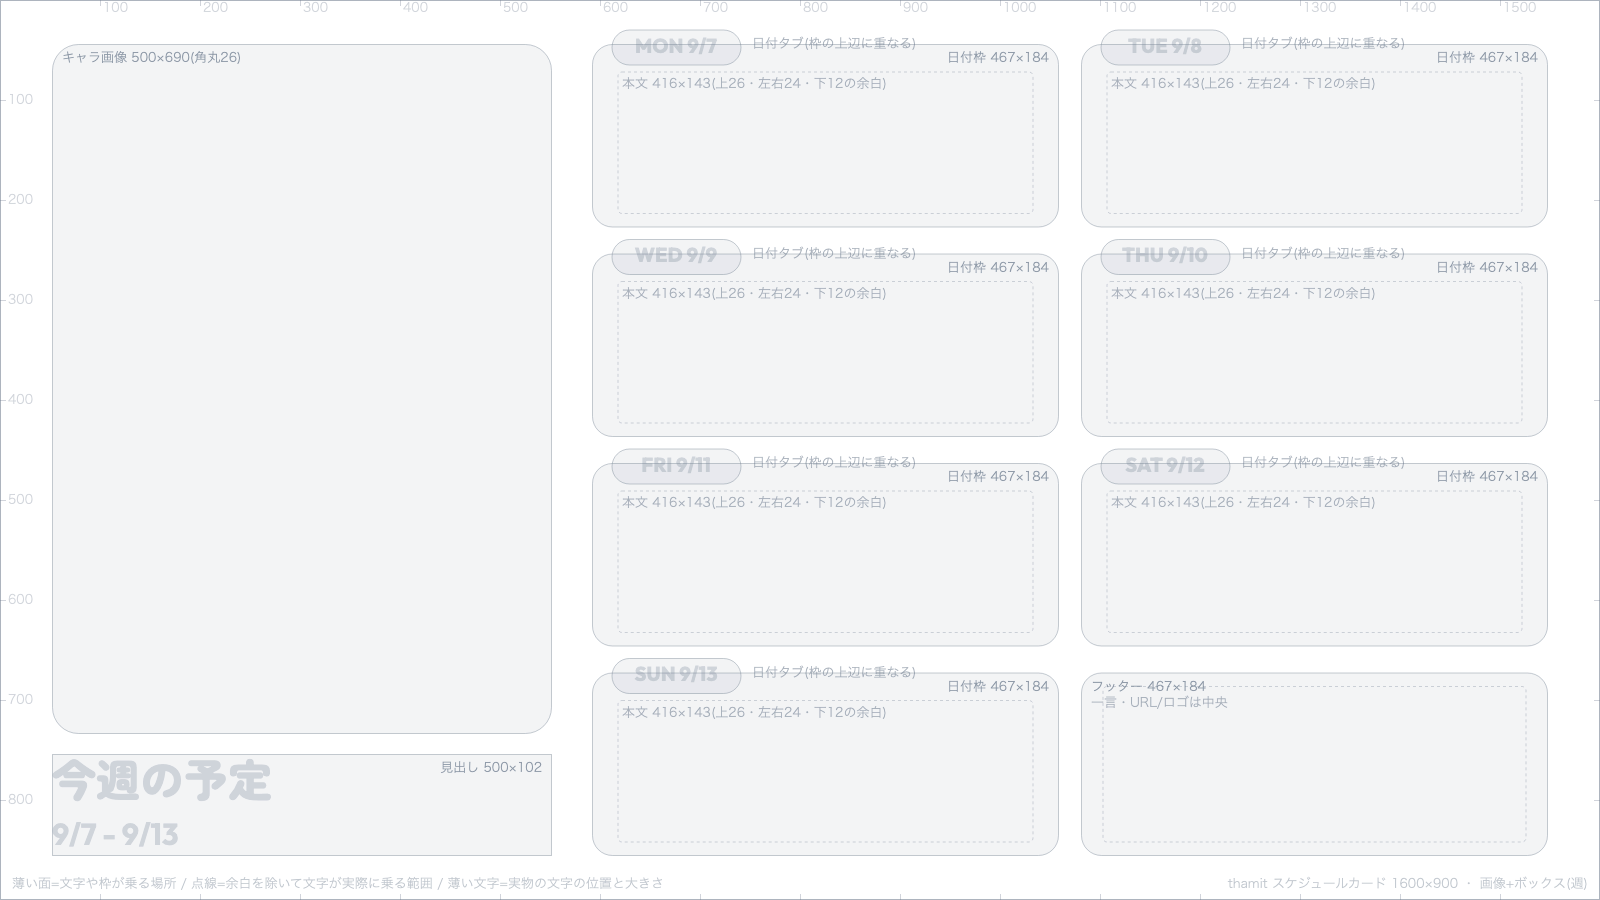
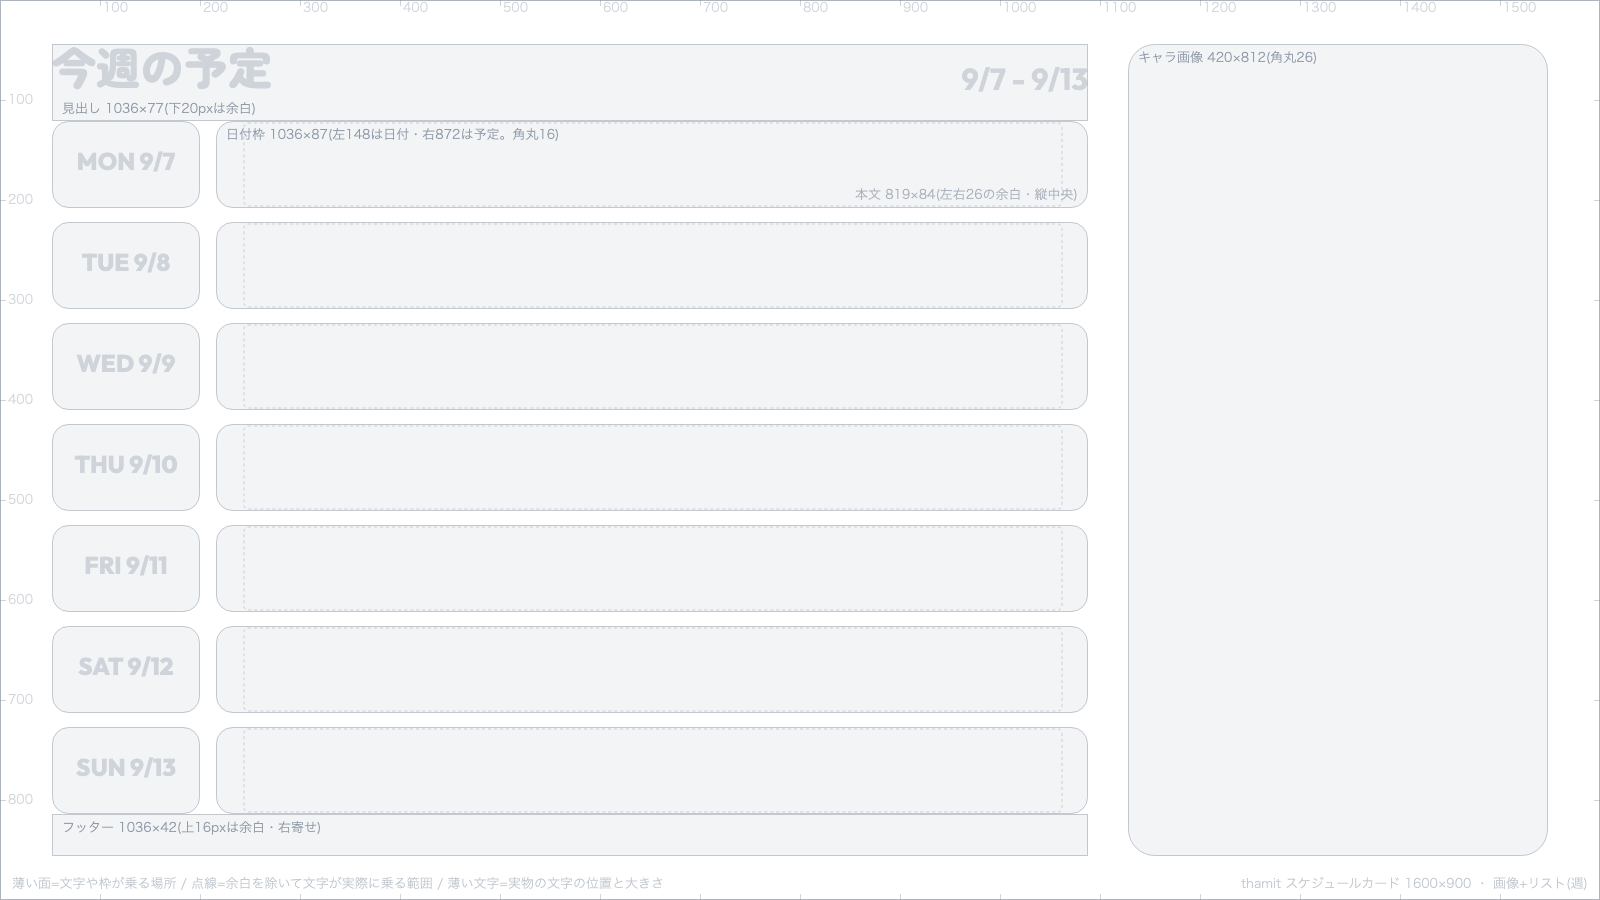
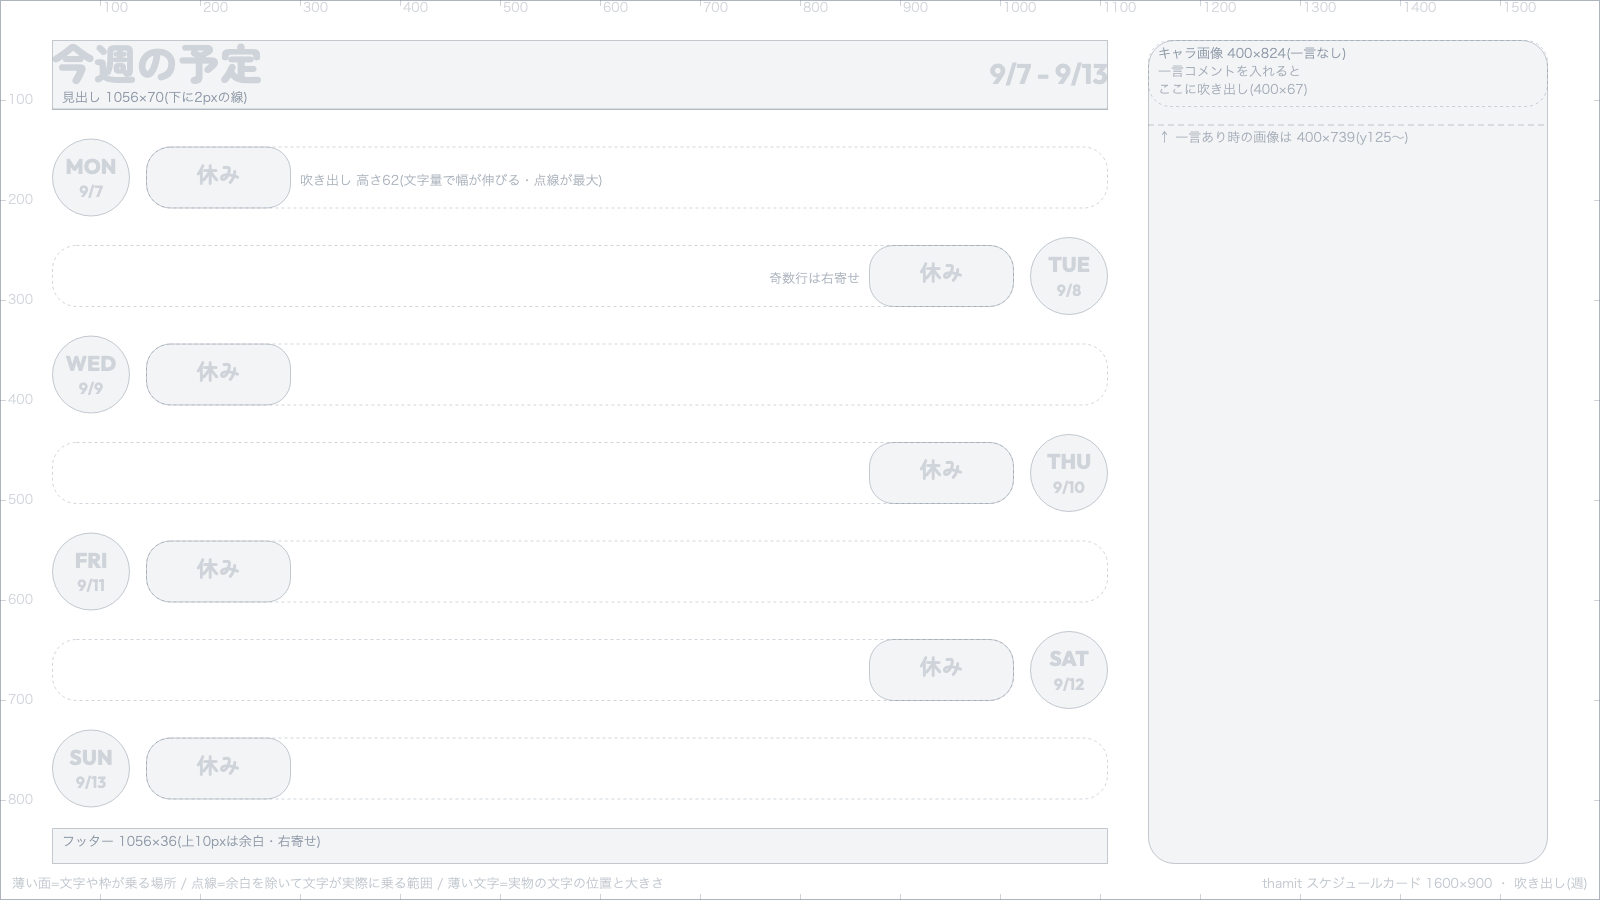
For a full list that also covers the intro card and icon decorations, see Download all the creator templates.
How to read a template:
- The outer border is the edge of the card (1600×900). The saved image is twice that (3200×1800). The numbers along the edges are pixel coordinates.
- Text and boxes sit in the light gray areas. For a background image these areas get covered; for a frame image, keep them transparent. The rounded corners match the real card.
- The dotted line inside each area is where text actually sits once the box's padding is taken out. For a day box image, keep the inside of that dotted line fairly plain so the text stays readable.
- The faint text (weekday, date, heading) shows where the real text goes, in the same font and size.
- "W×H" on a day box is that box's size. Day box images are centered inside each box, so drawing at that ratio avoids cropping.
- Areas that change size when you add a one-line comment (the character image in the Bubbles and Player designs) are drawn in both states.
- In the month view, the day boxes get shorter when the month spans 6 weeks instead of 5. The download in the advanced settings picks the one that matches the month being shown.
- Unfilled outlines (the phone frame in the Player design) are decoration, with no text inside.
What you enter stays on this device
Your plans and character image are stored only in your browser (nothing is sent to the server). On the same device and browser, you can pick up right where you left off next week.
Load from your page's "Events" block
When logged in, you can load the plans from the "Events" block on your page. Your weekly regular events become a schedule card draft without retyping them.
If you change the events on your page after loading, the card is not updated automatically. In that case, load them again from the same import flow.